# tinytex::install_tinytex()Communicating CT Research via Website Development with R
Abstract
This working document is a rough user guide on how to create a website using R via a package called blogdown
TABLE OF CONTENTS
- Almost everyone in Academia these days has a website. Indeed, websites are a fabulous way to post content and more effectively communicate your Clinical and Translational Research.
- There are many tools and services that can assist you in developing a very functional website.
- This working document is a rough user guide on how to create a website using R via a package called
blogdown. It will also walk you through opening in account on Netlify, which will host your website. - There are numerous resources for webpage development, including an amazing bookdown called “blogdown: Creating Websites with R Markdown” (https://bookdown.org/yihui/blogdown/). We’ve created this resource as we have tried to provide details and pearls that we struggled with and we belive these may be helpful to others.
- This is a ongoing, ‘living’ document that is constantly being edited and expanded. Please provide comments to allow us to optimize this document for all R users.
Load Packages for RMarkdown
Github
- Register a GitHub account (https://github.com)
- Create a new Repository (“+” sign in the upper right hand corner)
- Create a name for the repo and remember this as it will be used
- Copy the github repo address
R
Starting Your Project
- Create a new project in R using version control
- File -> New Project -> Version Control -> Git (clone a project from a Git repository)
- Enter the Git Repository URL:e.g. https://www.github.com/DM-Miller/themillerlab
- Create Project (open in new session would be my recommendation
- Install blogdown
if (!requireNamespace("devtools")) install.packages("devtools")
devtools::install_github("rstudio/blogdown")- Load blogdown
library(blogdown)- Create a new_site
new_site()- this will install Hugo and download new files
- The default theme is lithium
- If you want a different one (e.g. hugo-academic) add the following into the function:
new_site(theme = "gcushen/hugo-academic")- Once you do this it will download all of the necessary files into your working directory
- for example:
build_site()
Use the function build_site() in the blogdown package
blogdown::build_site()serve_site()
blogdown::serve_site()This function allows you to serve your website locally so you can view it in the “Viewer” tab in the “Files Plots Packages Help Viewer” pane ## Commit Changes to GitHub 1. Once you’ve set up your version control to github, each change that you make will be tracked by R. These changes will be cataloged in the Git Pane.
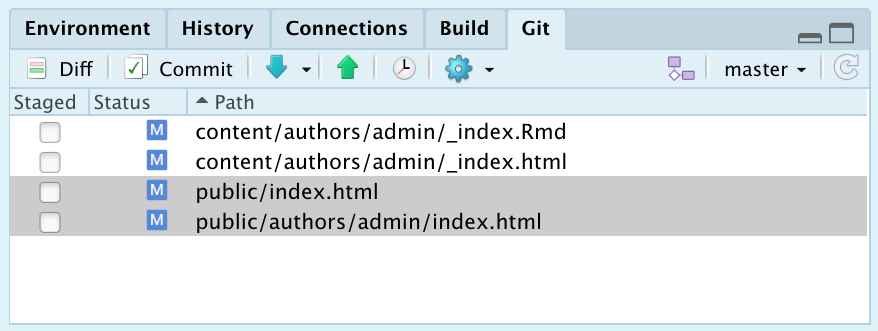
- To commit them to GitHub, select all of the files and click on one of the check boxes.
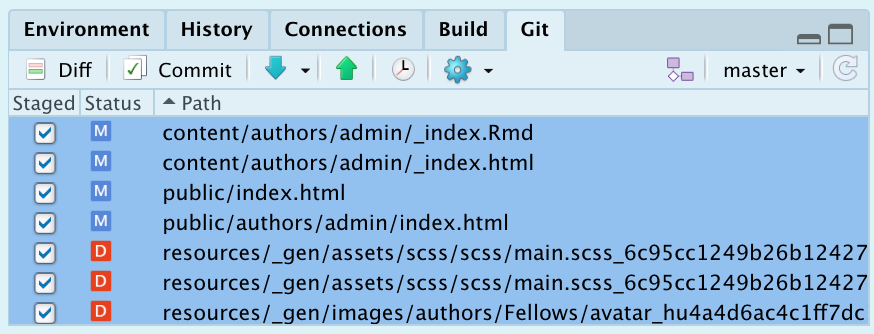
- Then click on the “Commit” button in teh above pane
- That will bring up a new window which will allow you to review the changes you’ve made. Write a message in the “Commit Message” Box in order to annotate the changes.
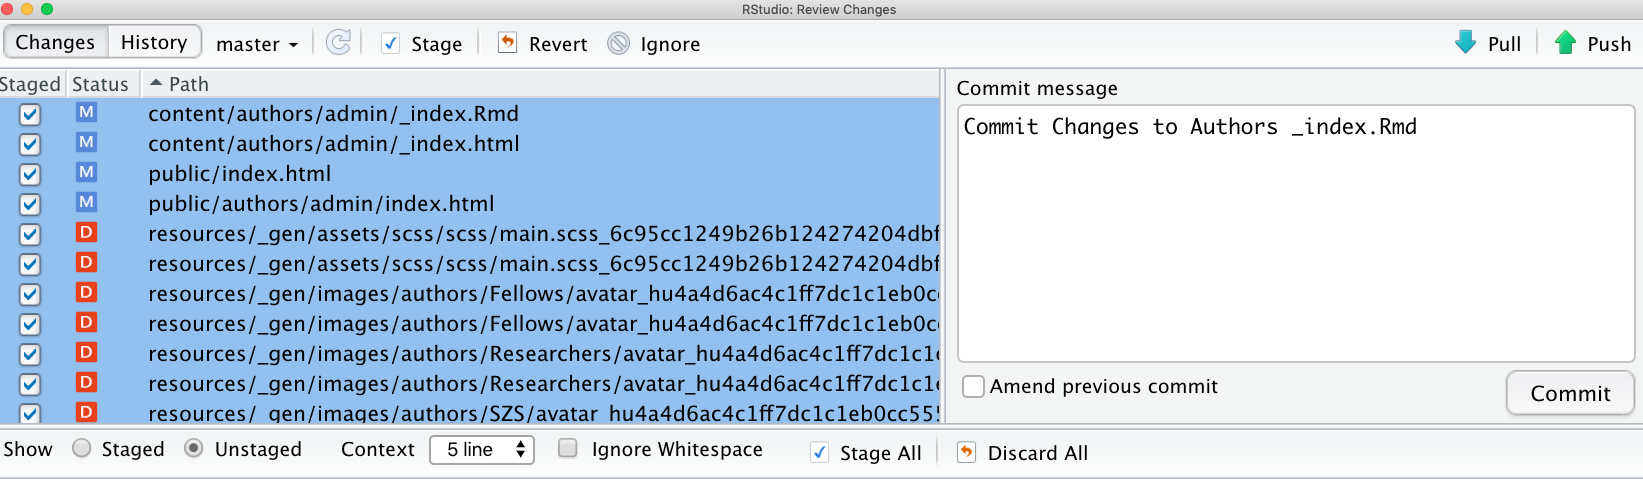 * Of note, these changes will show up in GitHub under “Commit”.
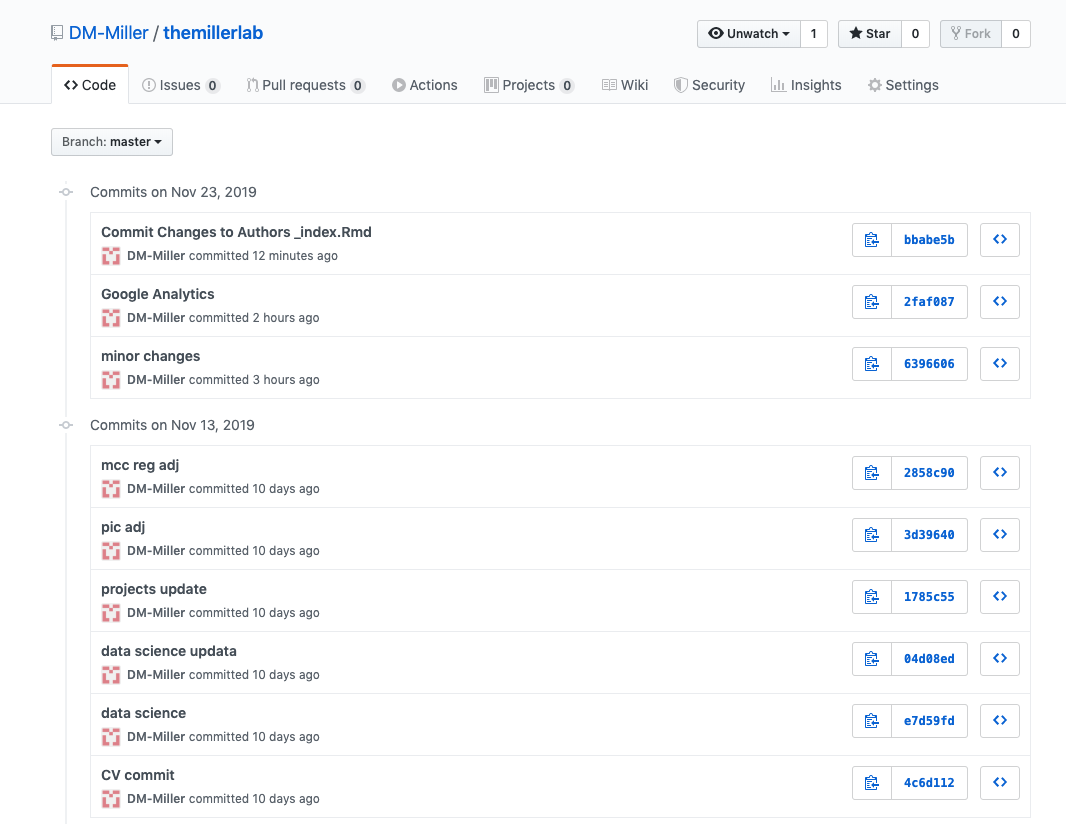
- Then press “Commit”. After you do that a new window will pop up called “Git Commit”.
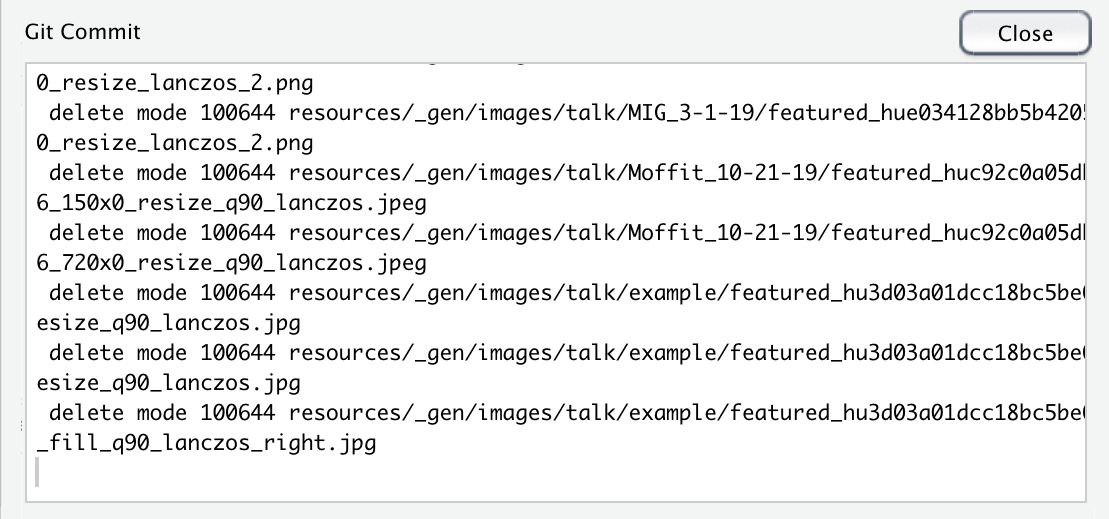
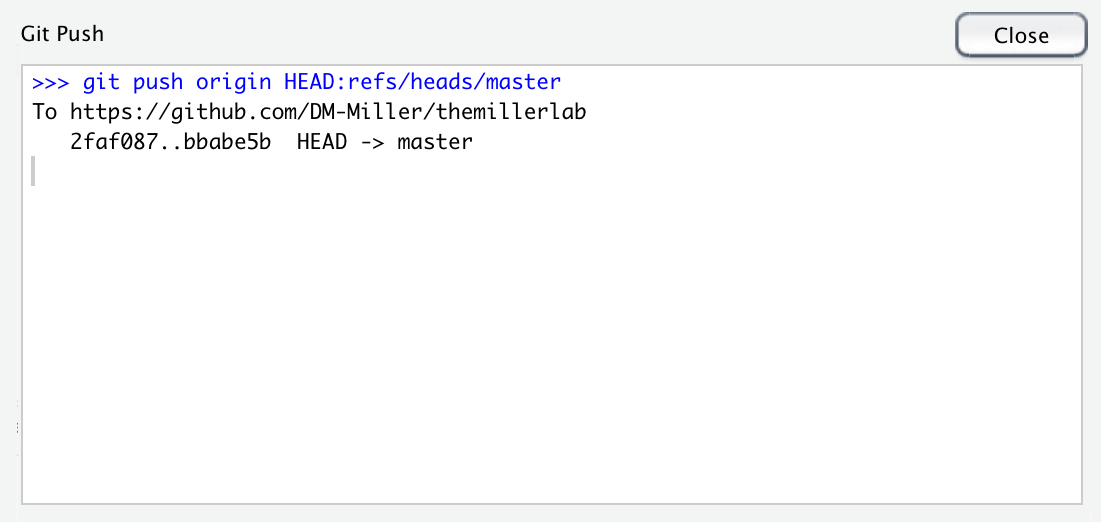
- Then press “Close”. Press “Push” in the Review Changes Pane, which will push the changes to GitHub. This window will pop up. Once it has been pushed, press “Close”. That should be it.
Overview
- Netlify is a is a San Francisco-based cloud computing company that offers hosting and serverless backend services for static websites (source: https://en.wikipedia.org/wiki/Netlify).
- There are other options. We’ve used it to host our website.
- Here are a few steps to get started:
- Go to netlify (https://www.netlify.com) and sign up
- We would recommend signing up with your GitHub account, especially if your are doing to deploy your website from this account
- Launch a New Site from Git
- Select Continuous Deployment from GitHub
- Pick your GitHub Repository for which you want Continuous Deployment
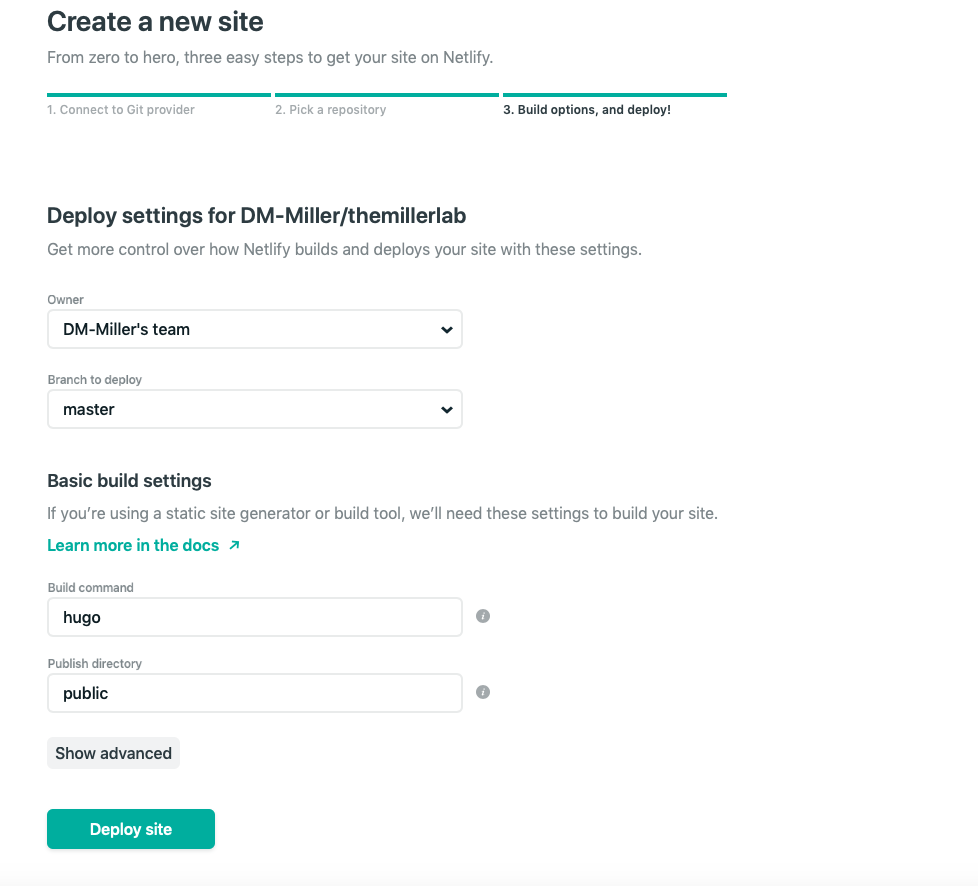
- Modify Settings (here’s an example)
 7. Select Deploy Site 8. Select a Domain Name (you can purchase one from Netlify if it is available)
Overview
- Hugo-Academic is a very reasonable theme for a academic website
- for an example see: https://www.themillerlab.io
Configurating the Website
Overview
- There are several config files that you need to know about
config.toml
- This file is where you will create the Title of your website
# Title of your site
title = “The Miller Lab”
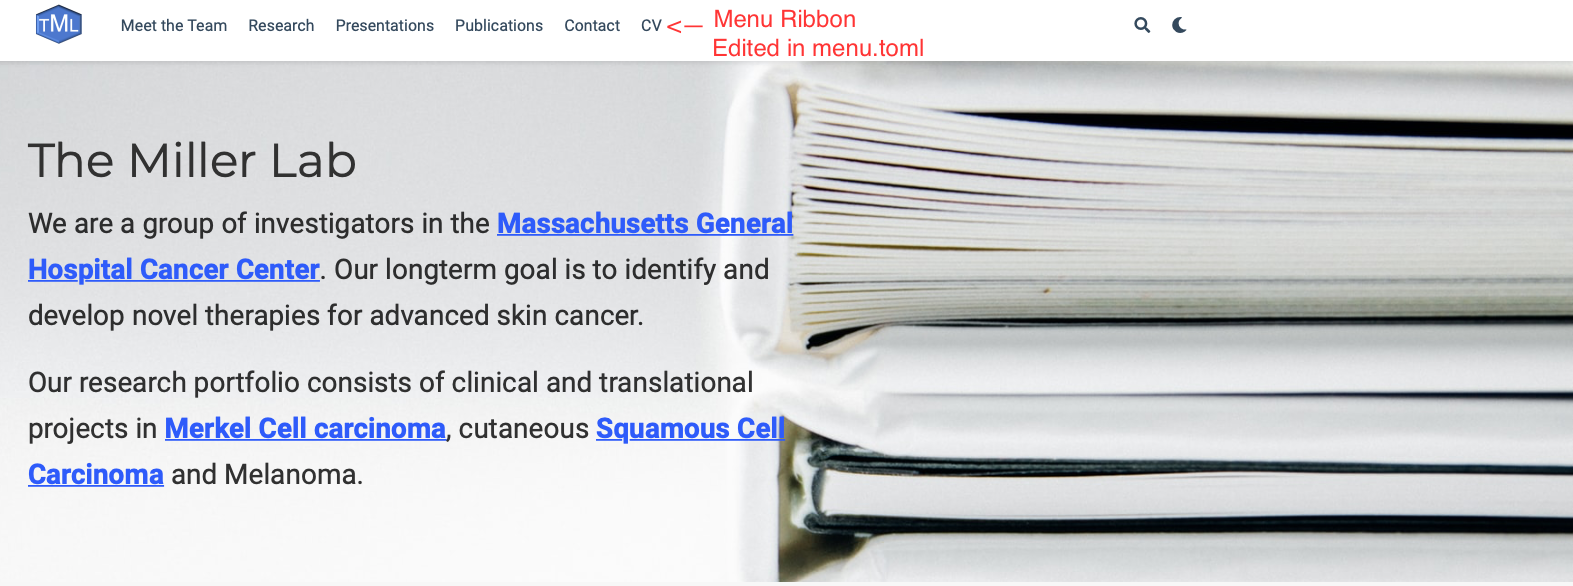
menus.toml
- Location
- config/_default/menus.toml
- config/_default/menus.toml
- This is where you will control which items go on the top menu ribbon on your website.
 * This is the default
[[main]]
name = “Demo”
url = “#hero”
weight = 10
[[main]]
name = “Posts”
url = “#posts”
weight = 20
[[main]]
name = “Projects”
url = “#projects”
weight = 30
[[main]]
name = “Publications”
url = “#featured”
weight = 40
[[main]]
name = “Courses”
url = “courses/”
weight = 50
[[main]]
name = “Contact”
url = “#contact”
weight = 60
params.toml
- Location
- config/_default/params.toml
- config/_default/params.toml
- This is where you will control which items such as
- Logo
- Contact Details (email, addresses, etc)
- Social Media Details
- Configuration of publication pages
- Marketing such as Google Analytics
Widgets in Hugo Academic
Overview
- The academic theme has lots of widgets; these are in your home folder; look for
“active = “and assign true or false depending on whether or not you want them“active = false”will hide the widget
- The Hugo project uses
+++to denote demarcation for TOML documents. It is a way for them to have a single text file that consists of TOML in the “frontmatter” (document meta-data), and a second “document” that is the body of page content.
Octicon-start and Get Started Clicker
Hero widget
- This is the first widget worth adjusting
- This is where you change the title of the website
- content -> home -> hero.md
- Within the TOML, you can add text using
[cta_note]
label = ‘Latest release’
[cta]
url = “https://sourcethemes.com/academic/docs/install/”
label = “Get Started”
icon_pack = “fas”
icon = “download”
[cta_alt]
url = “https://sourcethemes.com/academic/”
label = “View Documentation”
People Widget
- Under content -> Home -> people.md
- This will allow you place a “Meet the Team” segment on the web page
- User_groups = [ ] is key
- Within the [ ] you should specify the names of the subfolders in the “authors”
- For example
- Choose which groups/teams of users to display.
- Edit
user_groupsin each user’s profile to add them to one or more of these groups.
- user_groups = [“Fellows”, “Students”]
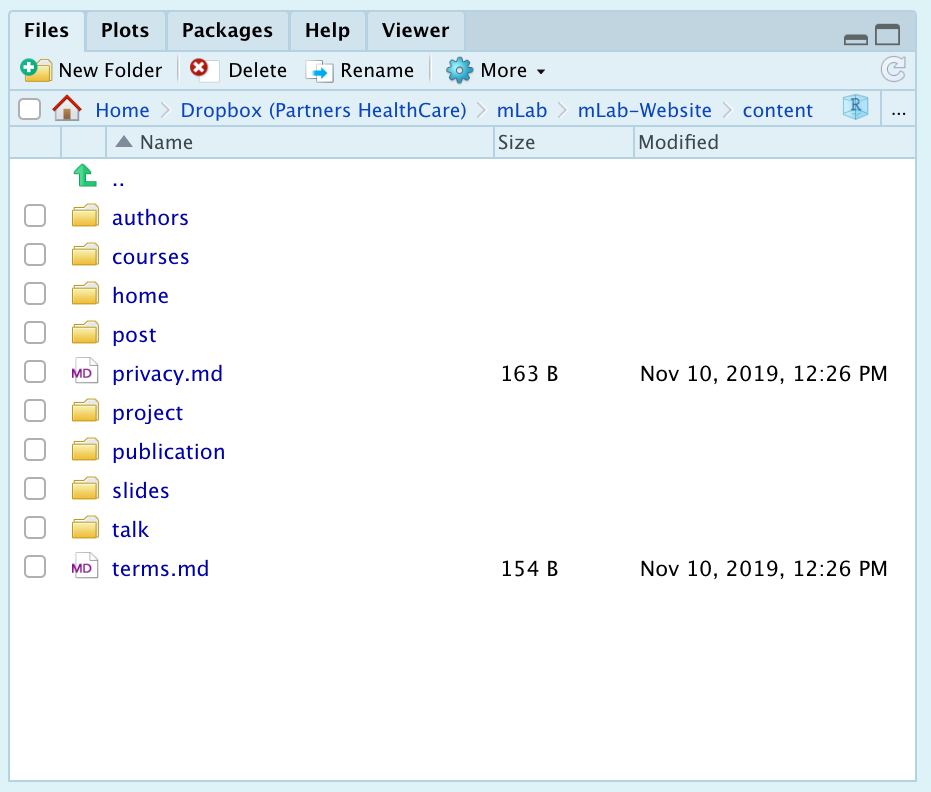
- Fellows and Students are the strings that you use in the _index.md files within each persons folder. “Authors” wd -> content -> authors
- What I did was create a subfolder of each person in “Authors” wd -> content -> authors
- For example
wd -> content -> authors -> John-Doe- Then with the subfolder “John-Doe” the info for the site is placed in a .md or .Rmd file called
_index.mdor_index.Rmd. - Then you list the person’s user-group accordingly and they will show up under that heading.
- Within the `
_index.mdfile, use the following
- Then with the subfolder “John-Doe” the info for the site is placed in a .md or .Rmd file called
- authors:
- John-Doe
- Then when you want to “tag” that person in say a post or a talk, you can write “- John-Doe” in under the
authors:section of the YAML in that specific posting or talk
Talk Widget
To edit content go to content -> talk
- Then edit
Example code that was embedded in default Talk widget page {{% alert note %}}
Click on the Slides button above to view the built-in slides feature.
{{% /alert %}}Slides can be added in a few ways:
- Create slides using Academic’s
Slides feature and link usingslidesparameter in the front matter of the talk file
- Upload an existing slide deck to
static/and link usingurl_slidesparameter in the front matter of the talk file
- Create slides using Academic’s
Example from the miller lab website
- I created a folder in “static” called “slides”
- Then I put the pdf of “MIG_3-1-19.pdf” in that folder
- Then in the index.md file under content->talk->MIG_3-1-19 I used the following
url_slides: “slides/MIG_3-1-19.pdf”
- I also removed “example” from line 29
- Slides: “ ”
- This was key, otherwise it didn’t work
Embed your slides (e.g. Google Slides) or presentation video on this page using shortcodes.
Further talk details can easily be added to this page using
*Markdown* and $\rm \LaTeX$ math code.In the new folder you created you will need a index.md file and potentially a features.jpg
Then make edits the index.md prn
Projects Widget
- Md document is in the Home folder “projects.md”
- content -> home -> projects.md
- content -> home -> projects.md
- There is a built in mechanism to link your active projects
- The details for your project, however is located:
- Content -> project
- Within thei “project” folder you can add new subfolders of the different ongoing projects
- Toolbar
- There is a tool bar feature that you can edit, e.g.
[[content.filter_button]]
name = “Data Science”
tag = “data-science”
- There is a tool bar feature that you can edit, e.g.
- projects subfolder
- As mentioned above, the actual descriptions of the projects are in
- Content -> project
- Here’s an example
- Content -> project -> data-science
- With the “data-science” subfolder, there are two key files
- Featured.jpg (the picture that will be feature)
Index.md
- Featured.jpg (the picture that will be feature)
- Index.md for projects
- Here put the data you want in the YAML
- Pay attention to
- Tags:
- -data-science
- This will link this file to the tool bar in the projects page
Talks Widget
Overview
- “Presentations” in the menu ribbon are edited with the talks widget
- The content of those presentations is stored in the “talk” folder
- Location of that folder: content/talk
- Then create new folders in that “talk” folder, each of which represents a new presentation that you’ve given
Below is the canned Text that comes as a default
abstract: Lorem ipsum dolor sit amet
address:
city: Stanford country: United States postcode: “94305” region: CA street: 450 Serra Mall
all_day: false
authors: []
date: “2018-06-01T13:00:00Z”
date_end: “2018-06-01T15:00:00Z”
event: Academic Theme Conference
event_url: https://example.org
image:
focal_point: Right
url: https://twitter.com/georgecushen location: Source Themes HQ math: true
- internal-project
abstract: An example talk using Academic’s Markdown slides feature.
tags: []
title: Example Talk
{{% alert note %}} Click on the Slides button above to view the built-in slides feature. {{% /alert %}}
Slides can be added in a few ways:
- Create slides using Academic’s Slides feature and link using
slidesparameter in the front matter of the talk file - Upload an existing slide deck to
static/and link usingurl_slidesparameter in the front matter of the talk file - Embed your slides (e.g. Google Slides) or presentation video on this page using shortcodes.
Further talk details can easily be added to this page using *Markdown* and $\rm \LaTeX$ math code.
Links in Hugo
- The default Hugo target directory for your built website is public/
- Therefore, if you want to link to a file with this format
[Merkel Cell Carcinoma tumor Registry](MCC_Registry.Rmd)
- Then the MCC_Registry.Rmd file must be in the public folder; this tripped me up for hours!
- This is considered a permalink
Netlify TOML
I Ran into a problem where I could not deploy from GitHub to Netlify
I ran the error message into google and Alison Hill recommended that I create a netlify.toml
https://alison.rbind.io/post/2019-02-19-hugo-netlify-toml/
The key was addint the hugo_version to the latest version I was workin on (see below)
Created netlify.toml in R in the workin directly (see content below)
I then pushed it to GitHub and was all set!
This is the code I got from Alison Hill’s website
[build]
publish = “public”
command = “hugo”[context.production.environment]
HUGO_VERSION = “0.59.1”
HUGO_ENV = “production”
HUGO_ENABLEGITINFO = “true”[context.branch-deploy.environment]
HUGO_VERSION = “0.59.1”[context.deploy-preview.environment]
HUGO_VERSION = “0.59.1”[context.deploy-preview]
command = “hugo -b $DEPLOY_PRIME_URL –buildFuture”[context.branch-deploy]
command = “hugo -b $DEPLOY_PRIME_URL –buildFuture”`
Adding images to your website
- I added an img folder to the home folder and placed the file images in that folder
- Then within the Rmd file within the home folder I used this code
- Another way to do so is to use the knitr function
include_graphics(), as follows:
knitr::include_graphics('./featured.jpg')
### Link to a PDF of your resume/CV from the menu
* To enable, copy your resume/CV to static/files/cv.pdf and uncomment the lines below
* Direct the navigation bar to your CV by editing the menus.toml file
* Wd -> config -> _default-> menus.toml [[main]]
name = “CV”
url = “files/DMM_CV.pdf”
weight = 70
Link a HTML to your content
- In any give web page, you might want to create a hyperlink that then takes you to a separate html document that you made. If you just place the
.htmlfile of interest in the subfolder of the particular page you are working on (e.g. for example the folder is called “Website-Development-Using-R”) - which is contained in the “content folder” and use that file to set as a hyperlink using the following format
[Hyperlink text](./file_of_interest.html)you will likely get a “Page Not Found” message.
- Therefore, what you need to do is create a similar folder under static
working directory -> static -> post -> Website-Development-Using-R - > place html document of interest - If you do, you should be able to successful link the html to your hypertext as follows:
Hyperlink text
- The key is to have two folders: working directory/content/post/Website-Development-Using-R and working directory/static/post/Website-Development-Using-R
- The content subfolder is the one you will edit your content in either the
.mdor.rmdfile. But it is in the static file that your.htmldocument of interest must be placed.- Of note, this doesn’t seem to be the case for other files, such as
.pdfor.png. These you can link in the.mdor.rmdfiles and have stored in teh/content/folder (i.e. they don’t have to be placed in the/static/folder)
- Of note, this doesn’t seem to be the case for other files, such as
Posts
- There is a folder “post” in the “content folder that allows you to post additional pages. Within that folder you can create various subfolders with their own index.md and featured.md. Of note, if you turn off the post widget, they can still show up on your people posting if you put in your YAML under authors: the appropriate label.